Workflow addonA suite of tools that unlock new approaches to working. You're getting a system, not a single tool.
Think of CURVEmachine as MESHmachine's little brother. It aims to make POLY and NURBS Curve editing more flexible, and like MESHmachine's fillet toolset, makes working with curve radii/arcs and non-circular blends essentially non-destructive.
New in 1.5 - multi-island Blendulate, Align Pie, Clean Up and a number of other improvements
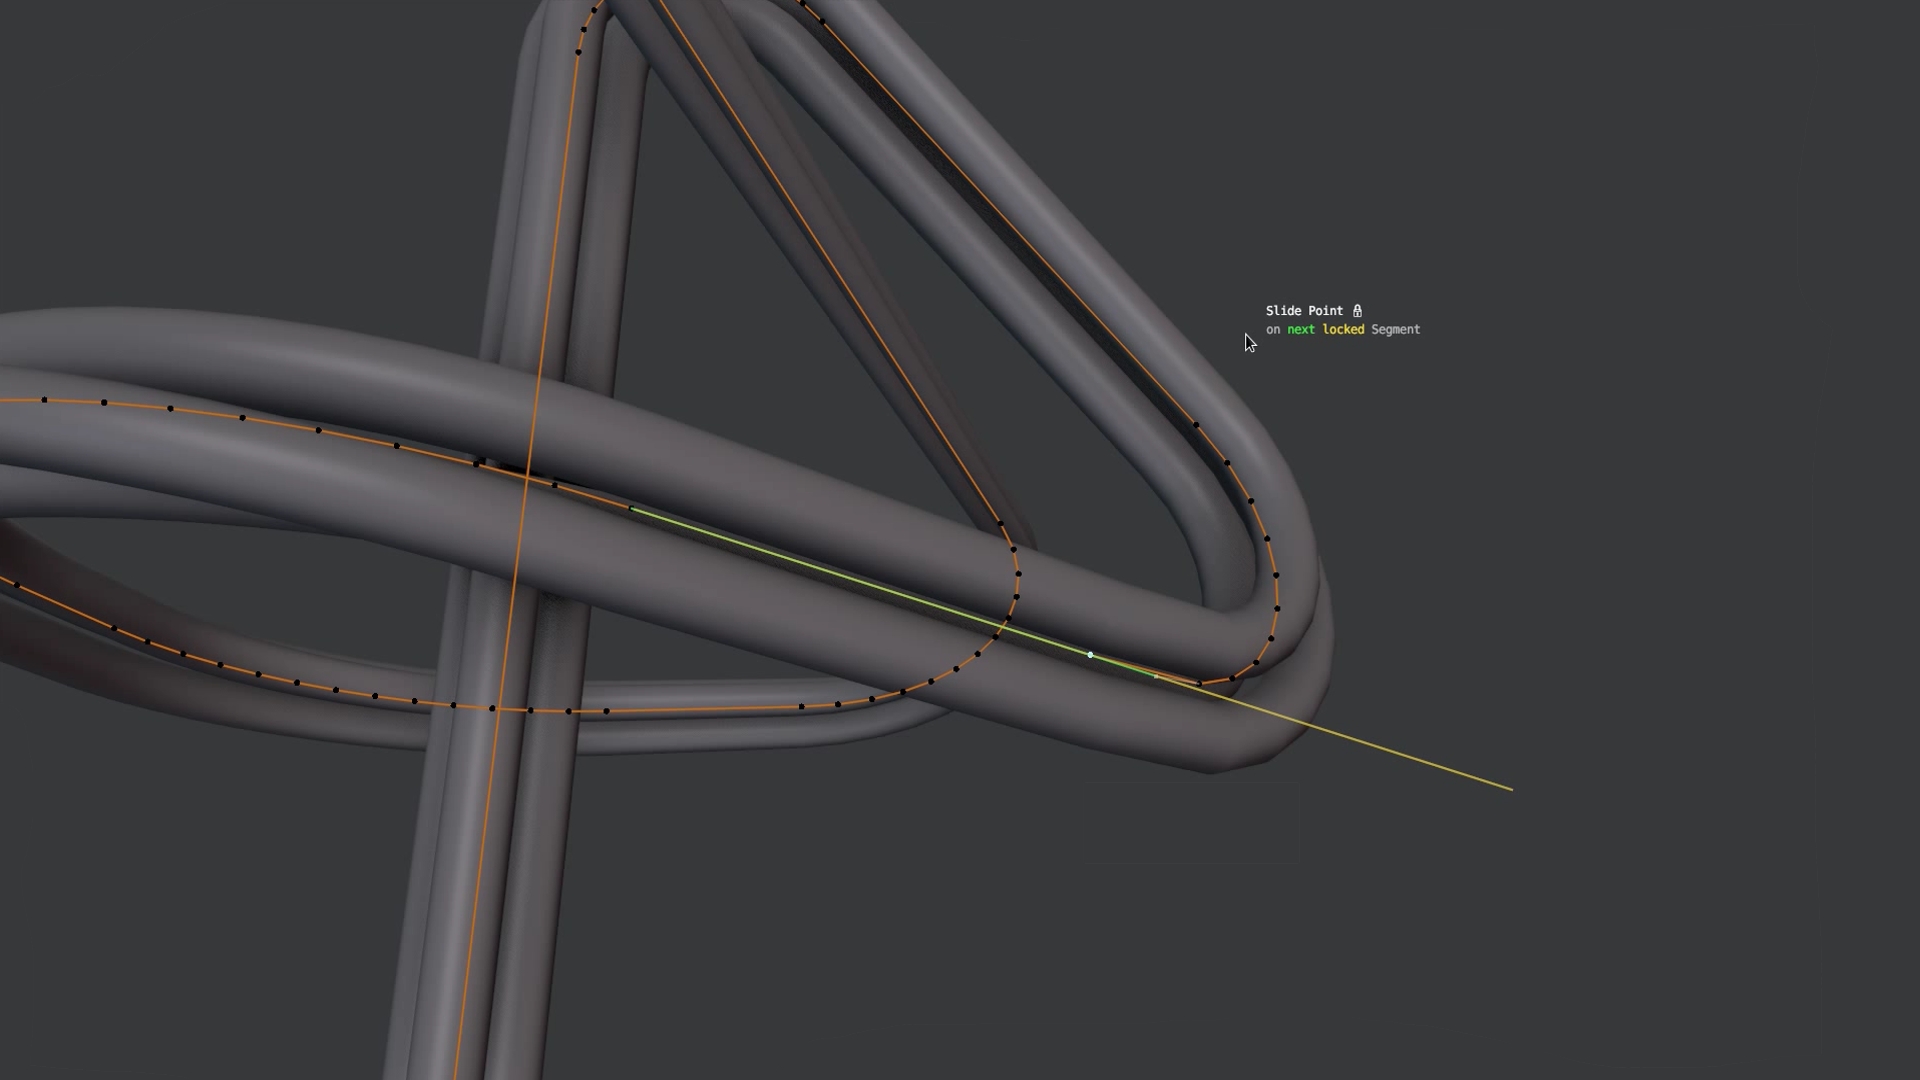
Blendulate - think of it as Bevel, Fuse, Unf*ck, Refuse, Unfuse and Unbevel all in a single curve editing tool
The main tool in CURVEmachine that makes this possible, is the Blendulate tool, which allows you to create curve radii/arcs (or non-circular blends), change existing ones or merge them back to a single point again.
Beyond that, there are additional useful tools, such as Flick Symmetrize and a Curve Knife, as well as a number of other goodies.
Flick Symmetrizev1.3
Flick a spline into symmetry across the curve object's origin, or across the cursor. ALT + X by default.
Curve Knifev1.3
Cut new points into splines exactly where you want them, or split a spline into multiple. 2 by default.
Align Piev1.5
Align POLY and NURBS curve points in local, world, or cursor space. ALT + A by default.
Clean Upv1.5
Remove doubles, dissolve colinear points, and delete loose splines - all at once. 3 by default.
Convertv1.3
Effortless POLY ↔ NURBS conversion. Keeps shape and intent. Tight corners and long swoops on the same spline, no stupid handles.
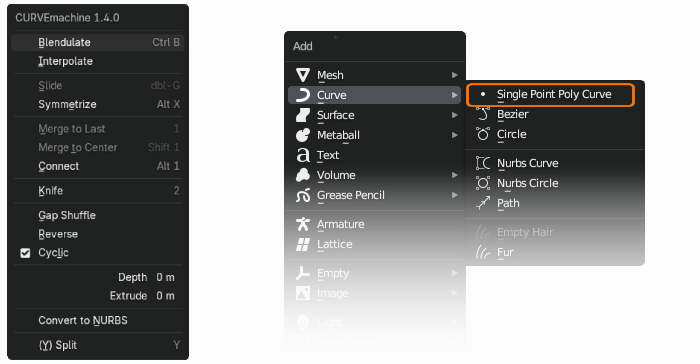
CURVEmachine menu mapped to Y by default + Single Point Poly Curve in the Add Object menu
Features
- add a single point poly curve at the cursor's location to quickly start extruding a curve
- create, edit or undo curve radii or non-circular blends - including multiple corners/islands at once
- symmetrize a spline across its curve object's origin, or across the cursor
- use the align pie to effortlessly align curve points in local, world, or cursor space
- slide a curve point along its previous or next segment
- merge to the last selected point or to the center of the selection, including across two splines
- knife cut curve points into splines, exactly where you want, or split splines into multiple
- clean up doubles, redundant colinear points and loose splines
- shuffle the gap of a spline to another location
- reverse a spline's direction in style
- adjust curve thickness, extrusion and resolution, and toggle spline cyclicity
- interpolate curve point thickness and tilt
- connect two splines
- effortlessly convert POLY and NURBS splines
Installation
 4.2LTS4.34.44.5LTS5.05.15.2LTS
Working on an older Blender version?
Email me and I'll send a matching version.
Drag and drop the addon .zip from your file browser onto Blender. This also works for updates, but always restart Blender after updating.
Once activated, the CURVEmachine menu is in Edit Curve mode on Y by default, plus a Single Point Poly Curve entry in the Add Object menu.
Links
- See the Documentation or Installation instructions
- Browse the FAQ and learn how to Get Support
- Check out What's New?
- Discuss at Blender Artists
- Follow on X, Instagram, Bluesky, Mastodon
- Join my Patreon
The missing (POLY + NURBS) Curve essentials.
Get CURVEmachine and make POLY & NURBS editing flexible, fast and non-destructive.
Blender 4.2 LTS - 5.2 LTS